
What you’ll learn from our video on two-part hygienic cladding adhesives
When installing hygienic wall cladding, the adhesive is critical to long-term performance. But you need to know there are significant health and safety risks associated with handling tools and adhesives, and there are important best practice techniques that will help you to achieve a compliant and professional installation.
Follow safety procedures to mitigate risk of handing tools
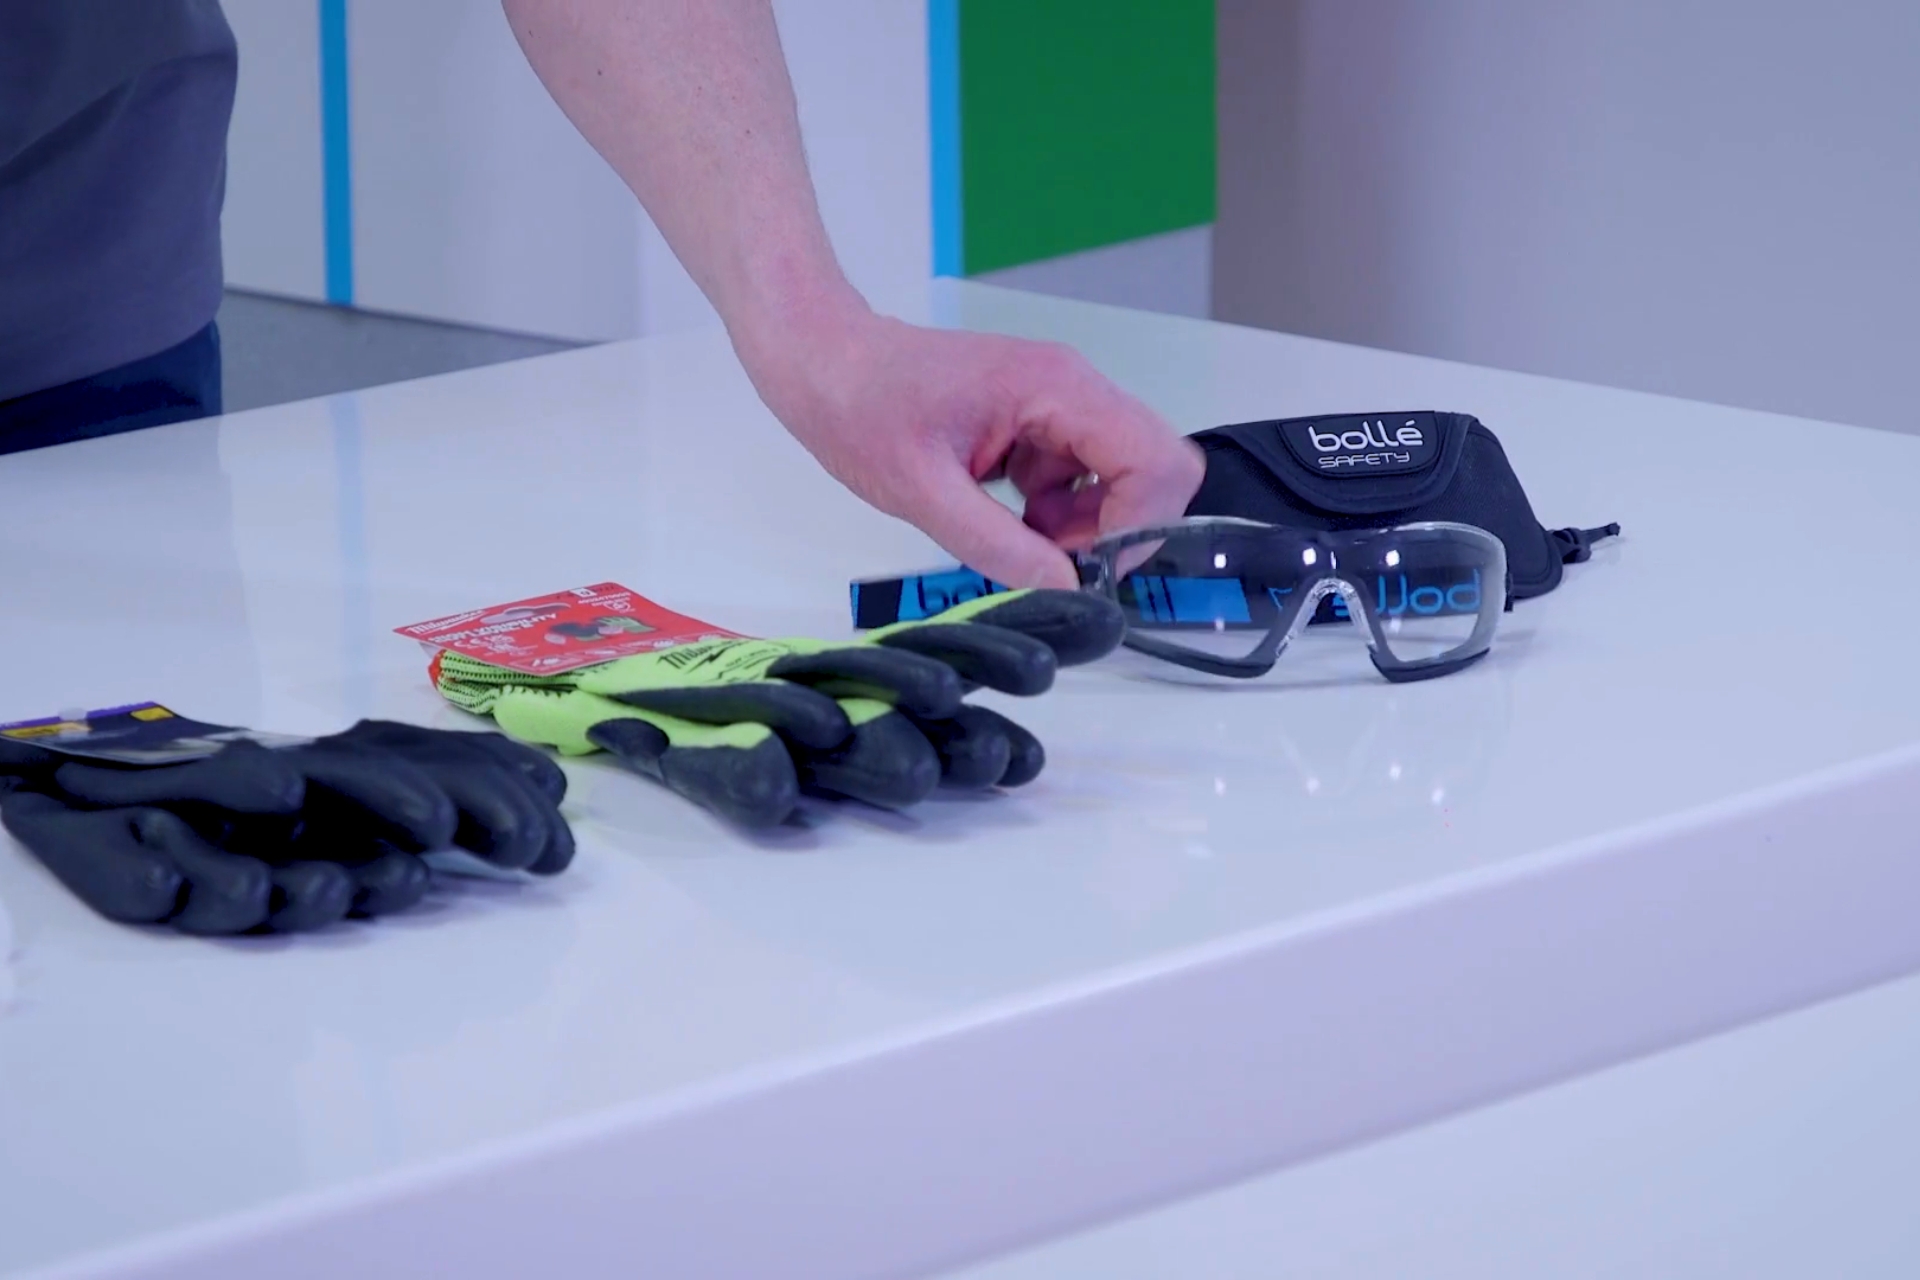
Using power tools inevitably creates risks. At all times you should wear appropriate PPE such as high impact glasses, rated gloves, and ear protection, especially when working with tools that exceed 86 decibels. You should also be trained on how to operate the tools safely and be aware of the potential hazards.
Use personal protection equipment to protect yourself from diisocyanates
Some two-part adhesives contain reactive chemicals
These are called diisocyanates and they can cause extremely severe health problems if not handled correctly, such as skin irritations and respiratory conditions.
Knowing the details on diisocyanates is really important…
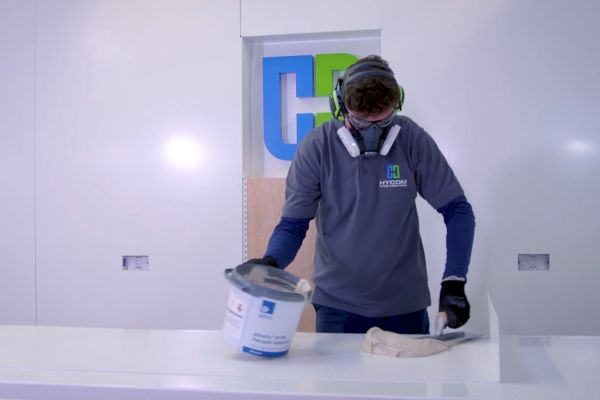
The dangers lie in the hardener. When you pour in the hardener, the chemicals become airborne, and this is when they become a respiratory risk to you and anyone else in the area. It’s essential you wear the right protection, such as an FFP3 face mask and gloves, and make sure the room has adequate ventilation.
In 2003, it became an industry regulation that anyone handling diisocyanates in a professional capacity undertake training on the safe use of the product. Isope’s course number 049 is the one you need. More details can be found here
Thorough wall prep is non-negotiable
In a nutshell, the adhesive is only as good as the surface it’s bonding to. Poor preparation leads to weak adhesion, panel movement, and potential hygiene risks down the line.
What do you need to do?
Walls must be clean, dry, dust-free and structurally sound. Remove grease, flaking paint and loose materials. Surfaces should be level. Moisture content must be within manufacturer tolerances to ensure correct curing and bond strength (read more about this here). It’s always wise to do a final wall scan before you apply the sheet, looking for things like nails and wall plugs, because once the panel is on, you will see them! Having to take the sheet off and start again is when it starts to get really messy.
You’ve got about 30 minutes to apply the adhesive
Once the adhesive is mixed correctly, you’ve got about 30 minutes before it will start to go tacky. If it goes tacky it becomes harder to spread onto the sheet. If it’s not curing within that time then you know you’ve got an issue.
You have about between 24 and 48 hours before it’s fully cured to the wall.
Clean as you go to avoid messy nightmares!
Once things start to get messy they’ll only get worse. If you do accidentally spill the adhesive onto the floor or other surfaces, be sure to clean it up immediately. It’s a good idea to have some wipes on hand to quickly wipe any spilt adhesive off your gloves, which can then get onto your tools, clothes and even into your van. If you do get adhesive in on a surface and you’re unsure how to clean it safely and effectively, our team can advise, so just pick up the phone.